
It's Christmas season, the most magical season of all time and I'm sure many of you are going for a vacation or going to attend Christmas dinner. So today, I'm going to show you a DIY easy Christmas nail art tutorial to glam up your nails for Christmas.

I received some nail art goodies from Born Pretty Store the other day and I was so excited when I was contacted by Born Pretty because they are very popular for their nail art supplies. I watched a lot of nail art Youtubers use and praise their products. Finally, I get the chance to try out their products and let's see how they perform. Shall we?

I'm going to use 2 products of Born Pretty for today's nail art tutorial. First is the Born Pretty Base Coat and Born Pretty Gold Foil. The base coat is what caught my attention the most. Because it is a PEEL OFF base coat for gel!

I always have a love hate relationship with gel manicure. I love the pretty glossiness and super long lasting power of the gel mani. On the contrary, I hate it when I want to remove them. Take me at least 1 hour long to remove them all and I'm not even being exaggerating. I don't usually visit a nail salon to remove my gel mani, I prefer to do it by myself. Not trying to offend any nail technician here, I find the nail technician that I visited years ago quite rough while removing my gel mani. That scares me a lot. But now with this Born Pretty Peel Off Base Coat, I can easily remove it without the pain in the arse. I have tried the peel off base beforehand for 2 weeks, here I'm going to show you how to remove the gel mani with the peel off base.

Just simply use the flat side of the wooden stick, gently scrape the edge and voila! Easy, quick and hassle-free! Love this product so much :D
Although it is a peel-off gel base coat, it doesn't fall off as easy as the normal peel-off base that I've used. This one last on my nails up to 2 weeks time!
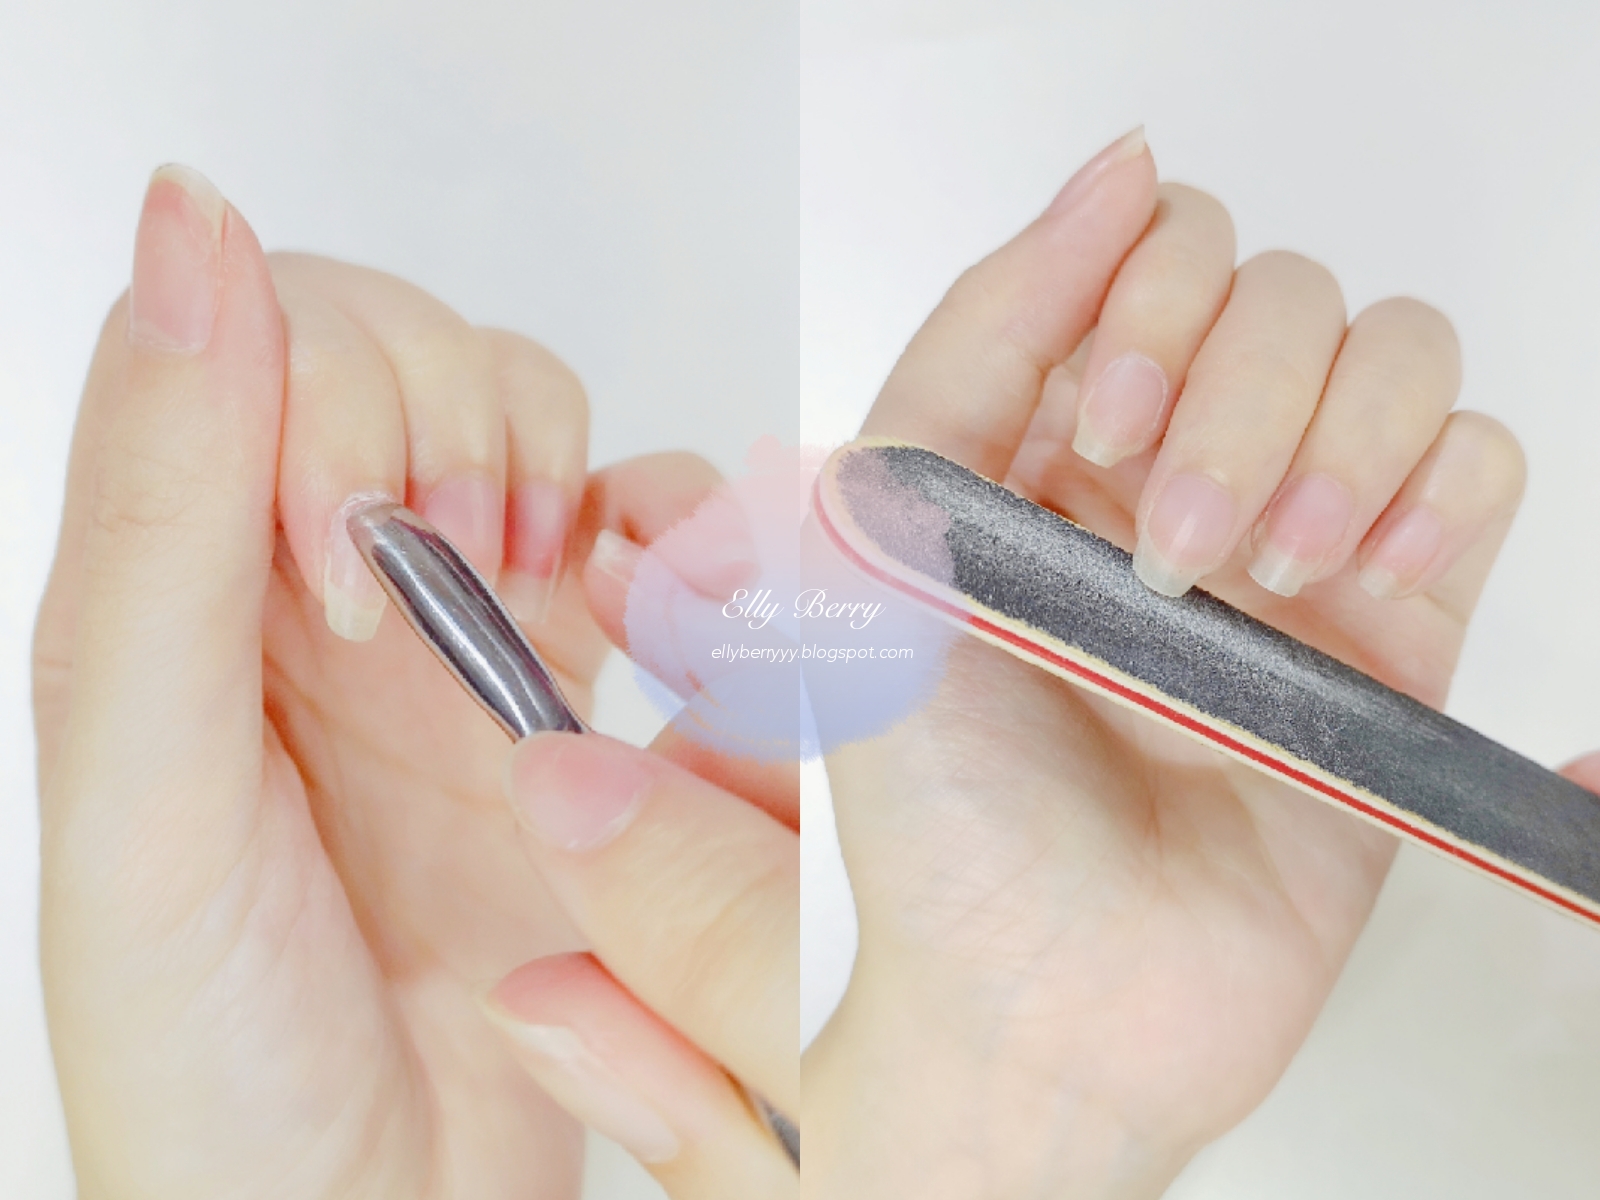
So after I peel off all of my previous nail mani, I will prep my nails for the next nail design.

The picture shown above are all the products I use for today's Christmas nail art.
Born Pretty Peel Off Gel Base Coat, Born Pretty Gold Foil, some rhinestones (which I ended up not using), some gold nail accessories, Che Nail gel polish in Milk color (slightly see-through), silver glitter gel polish, some colorful sequins, a lining brush and a nail pencil to pick up the sequins and nail accessories.

Using my new found love, Born Pretty Peel Off Gel Base Coat, apply evenly on every nail bed. Not forgetting the apply the nail tip as well for longer lasting power. Then, cure it under the LED light for 90 seconds.

Next, I'm going to use a milky white gel polish apply evenly on my nails as my base color. Cure it under the LED light for 90 seconds. Moving on, using the silver glitter gel nail with the lining brush, draw some lines across over on 2 of my nails only. Cure it under the LED light for another 90 seconds.

Then, using the gorgeous gold foil from Born Pretty with the sponge applicator provided, with very little amount, gently pat/stamp the gold foil onto the middle part of the remaining 2 nails as shown as above. Next, apply a gel top coat of your choice and cure it under the LED light.

Moving back to the nails with silver glitter lines, apply some round shaped color sequins to mimic the Christmas decorations with a sticky gel adhesive. As for the thumb, I apply a ribbon, some pearls and different sizes for round shaped color sequins in a circle to mimic the wreath. After all that's done, apply a gel top coat of your choice and cure under the LED light.

Voila! And you are all done! Since I'm using the no wipe gel top coat, I don't need an extra step to wipe the top coat.

With Born Pretty Peel Off Gel Base Coat, I don't need to worry about removing my gel mani anymore. I can easily peel them off anytime I want to :) As for the Born Pretty Gold Foil, it looks really pretty on the nails, very shiny❤ But I do need to give everyone a heads up if you are using the gold foil, always remember to switch off your fan when applying it onto your nails or even just want to open the lid. The gold foil is so thin and light, easily ''fly away'' when I open the lid haha!
If you are interested in Born Pretty products that I've mentioned above, you may click the direct link below :
1. Born Pretty Peel Off Gel Base Coat at $3.59 only // HERE
2. Born Pretty Gold Foil at $1.99 only // HERE
They offer various nail products and they are famous for their stamping nail kit. Feel free to check out their...
// Website : www.bornprettystore.com
// Instagram : @bornprettystore & @bornprettyofficial
Good news! I have a special discount just for my lovely readers to help you save some coins (although their prices are quite cheap already). Oh well, who doesn't love a discount ;)
For my angels, you are able to get 10% OFF while purchasing in their website
using the code : BERRY98

Psst! They offer worldwide FREE SHIPPING with no minimum order❤
YAASSS!!!


I hope you will enjoy my easy Christmas nail art tutorial and I shall see you, my angels, in my next blog post ;)
Love,

** D I S C L A I M E R **
I received all the Born Pretty nail products from Born Pretty Store for free in exchange for my honest and truthful review. All views stated are my own true opinions based on my own experience with the products. The direct link of the products nor the discount code are NOT affiliated, hence I DO NOT earn any coins from my readers. If you find my nail art looks wonky sometimes, please go easy on me as I am not a professional nail artist, I just love nail art and learning them from the nail artist here and there.
No comments:
Post a Comment